Pages

Sunday, October 30, 2016

I Lost My Cookies!

Facebook has so many good recipes pop up from different web sites.  I am always saving them.  A couple of weeks ago I found a lemon cookie recipe that sounded good.  I went out and bought 2 lemons and came home ready to make cookies.  I had all the other ingredients, BUT I COULDN'T FIND THE RECIPE.  GRRRRRR!!!  Friends started sending me recipes, but they weren't the same.  Others had suggestions for how I could find it.  No luck.  I went to Tasty.com.  Nope, not there.  Finally, I put lemon cookies in the search and there it was!!!  I was thrilled!  I saved it on FB and on my computer and now it's on my blog.  This recipe will never be lost again.  Today I made the cookies with a few minor adjustments!  They are good, but they're not real sweet.  Hubby likes them and I'm taking some in my lunch tomorrow.  I hope you enjoy them too!


Lemon Cream Cheese Cookies


2 1/2 cups all-purpose flour (or gluten free flour)
2 teaspoons cornstarch
1 teaspoon baking soda
1/4 teaspoon salt
1 cup sugar
1/2 cup (1 stick) salted butter, room temperature
1/4 cup (2 oz.) cream cheese, room temperature
1/4 cup lemon juice - Use 2 lemons
2 drops lemon doTERRA essential oil
1 large egg
1 teaspoon vanilla extract


Icing:

3/4 cup powdered sugar
1 tablespoon milk
1 tablespoon lemon juice
lemon zest  or 3 drops doTERRA Lemon essential oil

 In a large mixing bowl , cream together butter and cream cheese until smooth, then mix in sugar and beat until creamy.  Mix in an egg and vanilla extract, and beat until fluffy and lightened in color.  In a medium bowl, combine flour, lemon essential oil, cornstarch, baking soda and salt.  Add in the flour mixture and the lemon juice to the cream cheese mixture.  Mix until a rough dough comes together. You may need to add a little more flour if the dough is too sticky.  Put dough in plastic Ziploc bag, then refrigerate for 1-2 hours, or until chilled.  When ready to bake, preheat oven to 350ยบ.  Line a  baking sheet with parchment paper.  Spray your hands with Pam and roll cookie dough into balls and lay the cookie balls on the parchment paper. Place baking sheet in oven and bake for 15 minutes, or until edges are just starting to brown and pull away from baking sheet.  Remove cookies from oven and let cool completely.  

To make icing: whisk together powdered sugar, milk and lemon juice until smooth. Add more or less powdered sugar depending on how thick you want your icing. If icing is too thick, add more milk by the teaspoon.  Let cookies cool before topping them with icing.  Top with a sprinkle of lemon zest.
Makes 2 1/2 dozen. 

Saturday, October 15, 2016

Apple of My Eye

A co-worker told me how she added baked apples in her yogurt to make a healthy, fulfilling snack.  So I decided to try it and it was delicious!  I have started baking apples, mashing them up, and putting them in CarbMaster Vanilla yogurt (Kroger brand) for breakfast.  To make it a little more filling, I add in about two tablespoons of Kashi cereal.  I can mix it up before I go to bed so the morning isn't slowed down by making breakfast.  Plus, it's one less thing to think about before my brain starts to function.  Hubby tried it and he liked it too!  I bet this will become one of your favorites!!


Baked Apples

4 apples
½ cup of water
Cinnamon to taste
2 – 3 tsp brown sugar
Spray butter
Chopped pecans, if desired


Spray a 9x13 baking dish with Pam.  Peel and core apples.  Slice in half and place flat side of apple up.  Spray each apple half with 2 squirts of spray butter and sprinkle desired amount of cinnamon on top followed by a ½ tsp or so of brown sugar.  Top with pecans, if desired.  Pour a ½ cup of water into the bottom of the baking dish.  Bake uncovered at 350 degrees for 30 minutes.

For breakfast or a snack, mash one of the apple halves, add in 1 container of vanilla yogurt, and 2 tablespoons of Kashi. Stir well and enjoy.

Saturday, October 1, 2016

Say CHEEEEEESE for Cheesecake!


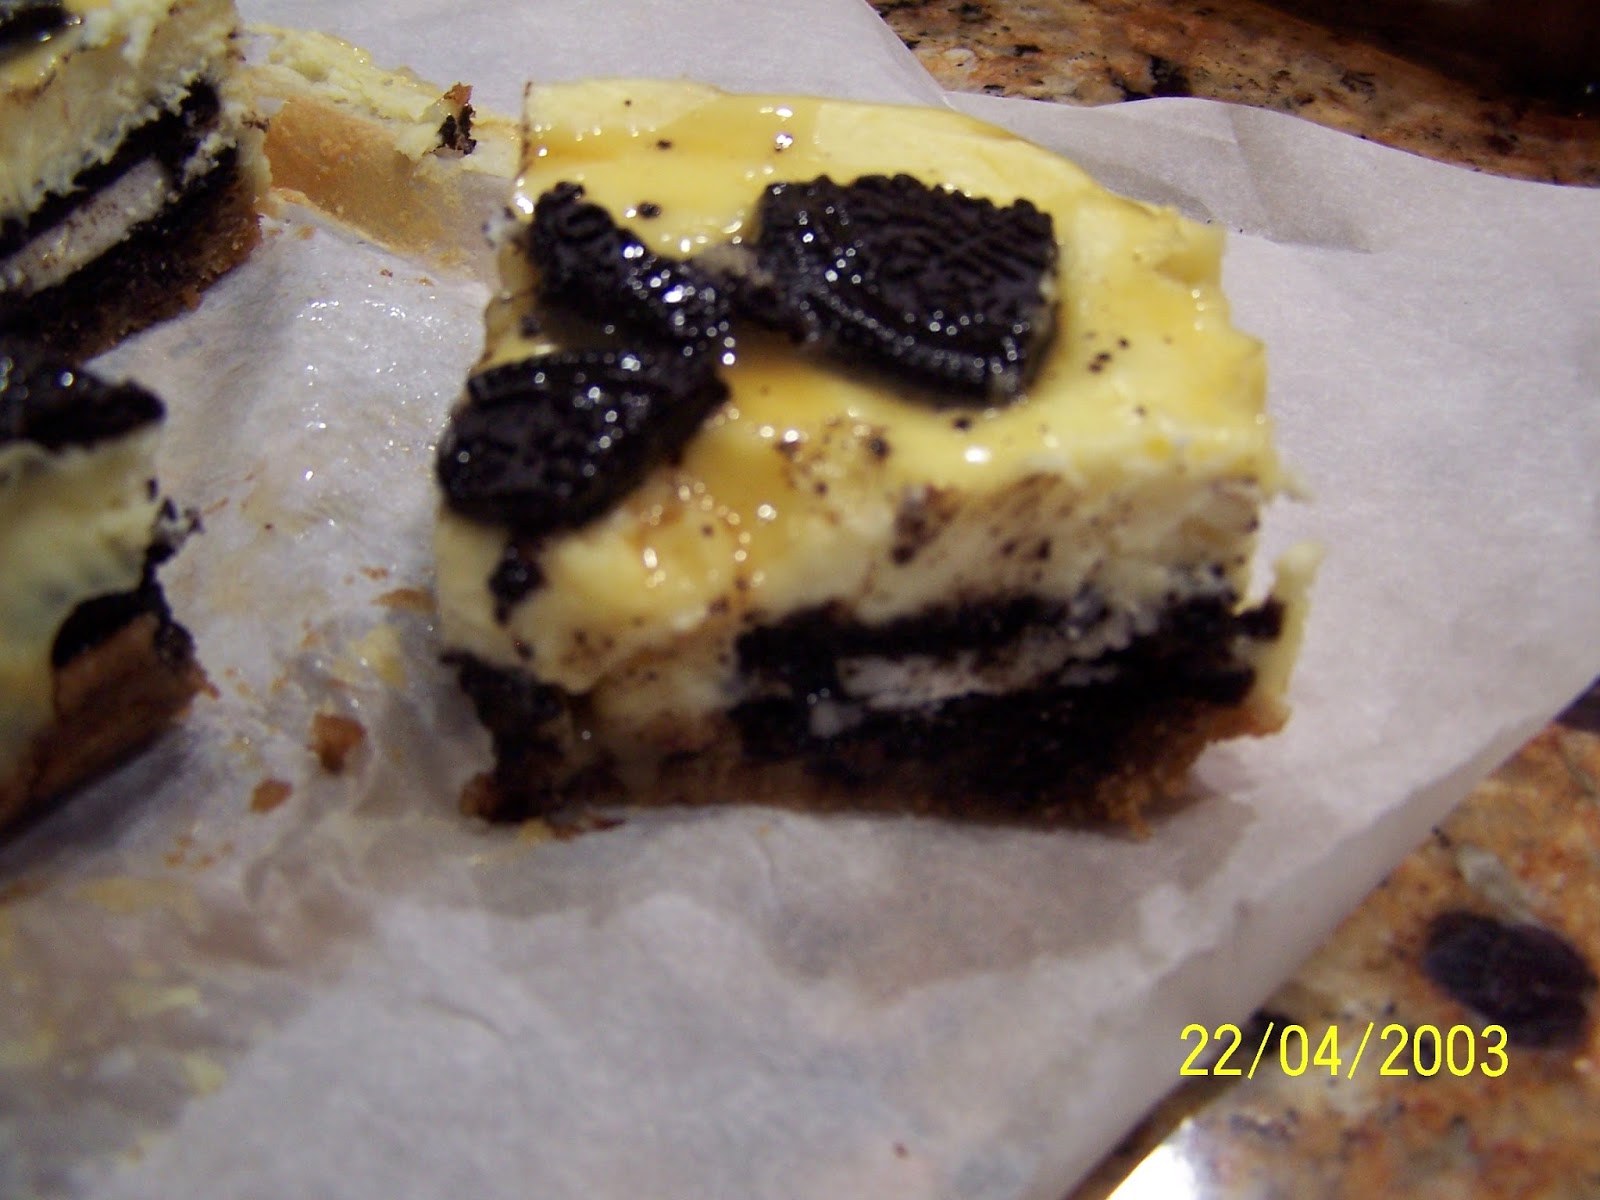
 OH.  MY.  GOODNESSS!  This cheese cake is SO good!  Have you seen the recipe where people wrap an Oreo with chocolate chip cookie dough.  The cookie recipe is awesome.  This is a cheese cake that plays off that idea.  It's really simple and really good. It's super rich so small servings are plenty.  The hubby and I liked it (a little too much) and so did some friends at work.  I also like the fact that I can make this the night before if I'm planning a dinner so there is less to do the day of an event.

Chocolate Chip Oreo Cheesecake
1  16 oz. pkg. refrigerated cookie dough
16  Oreos, plus 4 more crushed for topping
2  8-oz bars cream cheese, softened
1/2 c. sugar
2  large eggs
1/2 tsp. vanilla extract
pinch of salt
Caramel topping

Preheat oven to 325 degrees F. Line an 8-x-8" baking dish with parchment paper or aluminum foil leaving hanging over the rim. Press cookie dough into bottom of baking dish.  Top with a layer of Oreos (break them up to form a single layer). Set aside.  Make cheesecake layer: In a medium bowl using a handheld mixer or stand mixer using the paddle attachment, beat cream cheese, sugar, eggs, vanilla extract, and salt.  Pour over Oreo layer and smooth top.  Top with more crushed Oreos and bake until the center is only a little jiggly, 35-40 minutes.  Refrigerate until chilled, about 3 hours or overnight.  Remove cheesecake bars from baking dish by lifting it out by the parchment paper or foil and slice into squares.  Drizzle the top of the chilled cheesecake with caramel and serve.


Monday, August 22, 2016

Italian Food and Family Memories

I love Italian food.  I think it's because my grandfather was Italian and I was raised eating Italian food.  It brings back wonderful family memories.  Every time I make Italian food, I think of my grandfather.  He was the best man I ever knew.  He was happy, caring, welcoming, honest, and loved any time with family.  It was never too loud, too messy, or too crowded when we were all together.  When my family was all together, there was a lot of us and it was loud and crowded, but it was wonderful.  There was always a lot of love.  Boy, do I miss my grandparents!  I know this may sound strange, but when I eat Italian food, I feel a little closer to my grandparents.


Shrimp Fettuccini Alfredo

1 pound fettuccini (or tri-color rotini) pasta
1 Tb. butter
1 lb. cooked shrimp - peeled and deveined
2 Tb garlic, minced
12 oz. broccoli
1 pepper diced
8 oz fresh mushrooms, sliced
½ grape tomatoes cut in half
1 jar Alfredo sauce
¼  cup Mozarella cheese
salt and pepper to taste
a little milk to make it creamier, if needed.

Bring a large pot of water to a boil. Add pasta and cook for 10 minutes or until done; drain.  Add in broccoli, mushrooms, tomatoes, and peppers. Stir in shrimp, butter, and garlic. Pour in Alfredo Sauce; stir. Sprinkle Mozzarella cheese a little at a time, stirring constantly. After all the cheese has been added, mix in salt and pepper. Stir frequently making sure it does not boil or stick to the bottom of the pot.  Add milk if needed.  


Garlic Bread Knots

These are SO GOOD!  They go great with Italian food and are EASY to make because they are made with canned biscuits!!!!!  You might want to double the recipe because you're going to wish you had more.

Garlic Bread Knots

1 can large buttermilk biscuits (like Grands)
½ cup olive oil
1 Tb. parsley
½ tsp. garlic powder
1 tsp. oregano
¼ cup Parmesan

Roll each biscuit out like you would if you made a Play-doh snake.  Tie each one into a knot.  Tuck the ends underneath.  In a bowl, mix olive oil, parsley, garlic powder, oregano, and Parmesan.  Stir well and dip biscuit knots into the mixture to coat the top and bottom. Sprinkle a little more Parmesan on top.  Place on a baking sheet and cook at 400 degrees for 17 minutes.

Sunday, July 31, 2016

Do You Know The Muffin (Wo)Man?

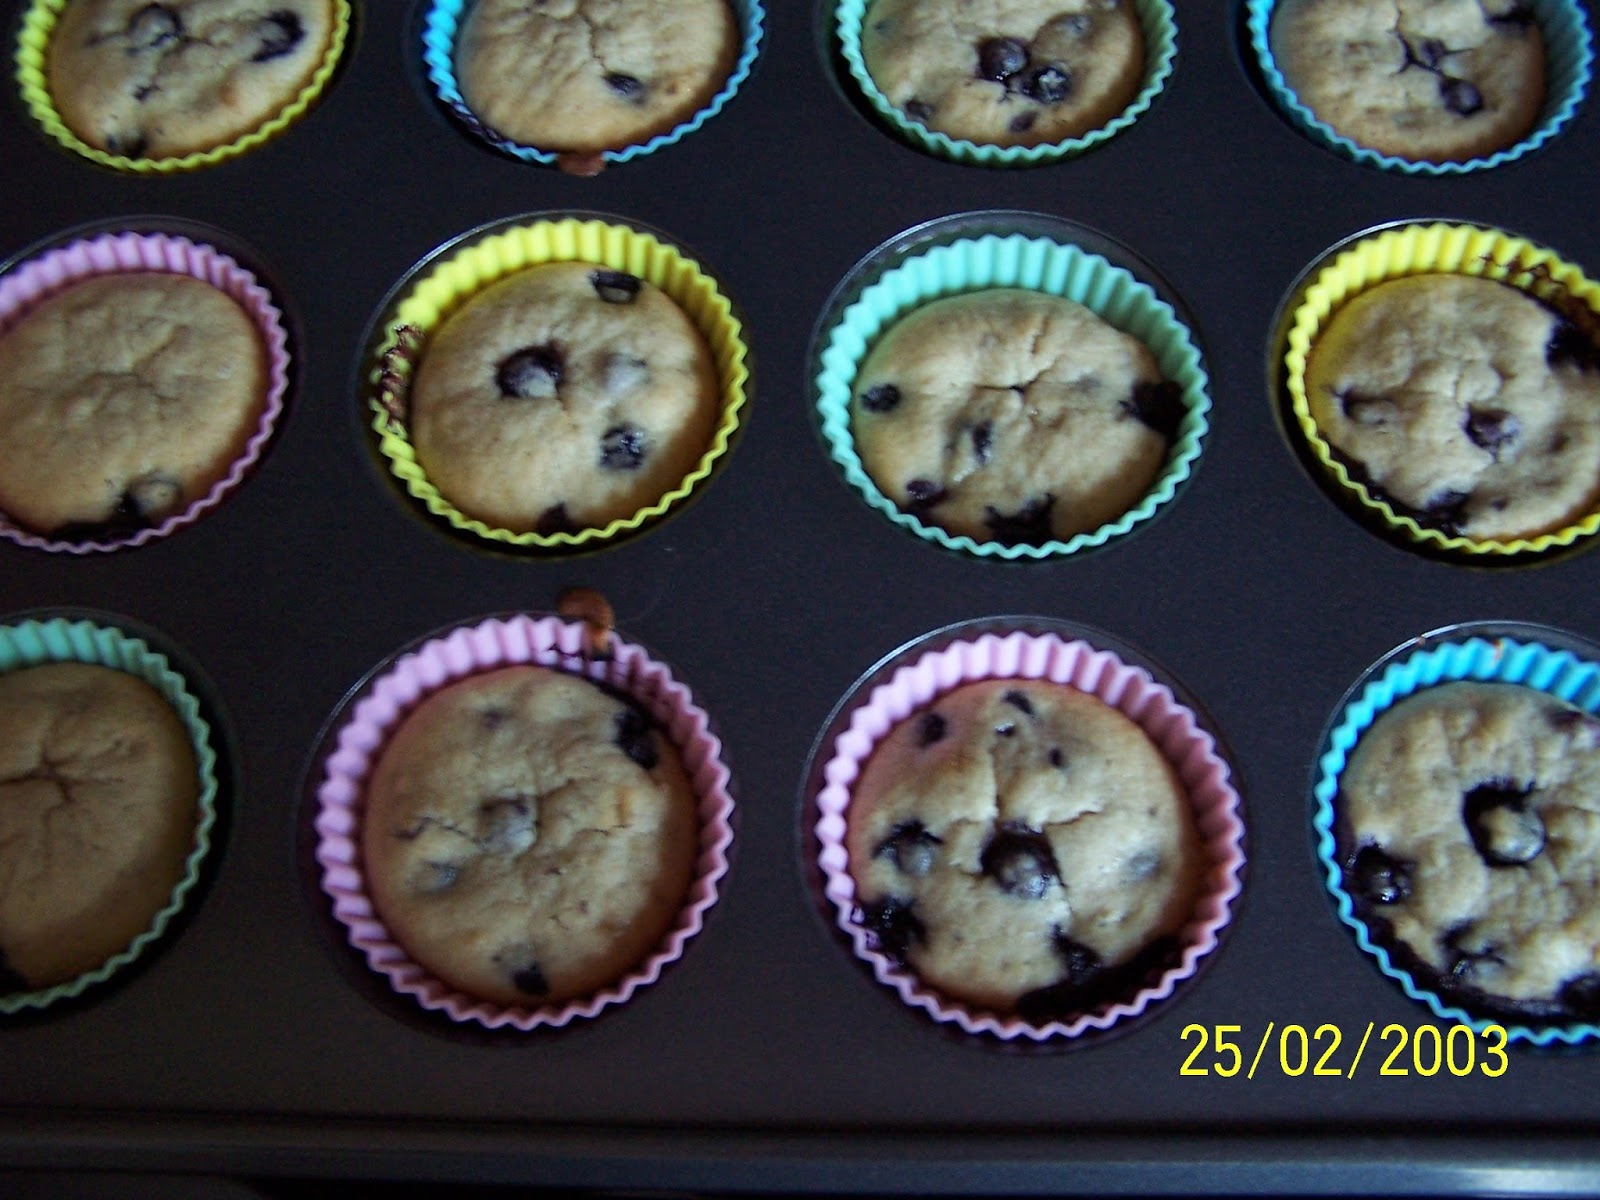
So here it is the day before I have to return to work and I should be doing a million things.  Instead, I'm making muffins.  Why?  Why not?  All that other stuff will get done eventually.  I'm feeling a little melancholy right now.  Summer went by so quickly and I really like not working.  Maybe I could sell muffins instead teaching.  That would make me happy.  I could make all kinds of muffins and I may even sing the Muffin Man song as I sell my muffins.  Or maybe not.  That would probably drive people away.  So if you work with me and you don't see me tomorrow, you'll know I'm at home making muffins.  These are so good, you may find me at home eating muffins!  With that thought, I guess I'd better return to work so I don't start looking like a big, fluffy muffin!


Blueberry Banana Muffins

1 stick butter, room temperature
1 cup sugar
2 large eggs
1/4 cup buttermilk (if you don’t have buttermilk, just measure ¼ cup of milk, then add a drop or two of lemon juice and let it sit for a few minutes)
1/2 teaspoon vanilla extract
3 ripe bananas, mashed
1 3/4 cups all-purpose flour or gluten free flour
1 teaspoon baking powder
1/8 teaspoon baking soda
1/4 teaspoon salt
1 ½  cup blueberries  (frozen works well)

Preheat oven to 350 degrees.  Prepare your muffin tins by using paper liners or silicone muffin liners.  Beat the butter & sugar on medium-high speed until light and fluffy – about 2-3 minutes.  Beat in eggs, buttermilk and vanilla.  Beat in bananas.  Gradually add in flour, baking powder, baking soda, and salt at low speed.  Add blueberries and gently stir.  Spoon the batter into your muffin tins.  Bake for 15 minutes for mini muffins or 20-25 minutes for regular sized muffins.

Wednesday, July 27, 2016

Dreams Really Do Come True!

Wouldn't it be a dream if you could make a complete meal in one dish?  Well, I am about to make your dream come true!  This is a simple recipe and you can do the prep work ahead of time if you'd like.  I diced up my squash, zucchini, onion, and tomatoes ahead of time and put them in a gallon sized ziploc bag and put them in the refrigerator.  The mushrooms were already sliced when I bought them.  I only used 2 chicken breasts and cut them in half.  This is a great recipe when you know you're going to have a busy day because you can cut the veggies up the night before if you need to.  With school about to start back, we can all use an easy recipe.  Oh, and I forgot to mention ... there's very little clean up!  I think I just hit a home run!  Hold on.  It's about to get EVEN BETTER!  We have enough for LEFTOVERS!!!!!  Leftovers = a day I don't have to cook!  (insert BIG smile)


Chicken Veggie Bake

 4-6 boneless skinless chicken breasts
1 cup chicken bouillon
2 yellow squash
2 zucchini
1 onion
8 oz. sliced mushrooms
a handful of grape tomatoes, sliced
pepper to taste
Mrs. Dash to taste

Slice squash, zucchini, onions, and tomatoes.  Mix sliced veggies and mushrooms together.  Spray a 9x13 glass baking dish and place veggies in the dish.  Sprinkle pepper and Mrs. Dash on top.  Place chicken on top of vegetables.  Pour chicken bouillon over the top.  Cover with foil and cook at 350 degrees for 30 minute.  Remove foil and cook for 30 more minutes.  You’ll have plenty of vegetables for seconds!